Design Work Flow using EnCap Designer
Before starting the topic on creating work flow for Twixor EnCaps, let us first dig the importance of EnCap work-flows. The workflow's prime objective is to aid the businesses in preparing and automating trade campaigns. Moreover, it allows you to effortlessly design even the complicated campaigns in seconds.
Make your customers to adore your campaigns. This can be accomplished by launching the EnCap Designer incorporated in Twixor EnCaps. With this feature, you can structure the campaign flow within few minutes.
1. After creating an EnCap, you will be prompted to design the work flow for the created EnCap.
2. Configure webhooks, design the EnCap forms, and create the buttons before designing the work flow for EnCaps.
4. Drag and Drop the required nodes from the design palette for scheming the activity flow of EnCap.
5. Let us now design a work-flow for the Bookstore EnCap.
6. First, start designing the EnCap by dragging and dropping the Start node in the design area.
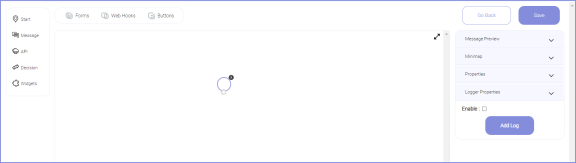
Warning! An alert will be displayed if you try to place two start nodes in single EnCap design
7. After that, drag and drop the message node to the design area. Connect the Start and Message nodes by an arrow. This can be done by clicking and dragging the end point of the start node.
Info! This message node placed after the start node act as a welcome message for the EnCaps
This process is explained in the video below:
Info! The relationship between the two nodes is indicated by an arrow
Create message templates for the EnCap by following the steps illustrated in the guide Creating Message Templates for EnCap.
Create Message Templates for EnCap
